
How to Run an Ice Maker Cleaning Cycle
The clean button does most of the work, but only if you add the right solution first and know what the blinking lights are actually telling you.
Key takeaways
- The clean cycle only circulates what you put in the tank, so add a real cleaning solution, not plain water.
- On a GE Profile Opal, press and hold the clean button 3 to 5 seconds until the light confirms the cycle started.
- Most cycles run 12 to 20 minutes, but budget close to an hour once you add rinses and hand wiping.
- Always run one or two fresh-water rinses so your next ice does not taste like vinegar.
- Many portable units have no clean button, so you soak and run a normal ice cycle by hand instead.
The first time I tried to run an ice maker cleaning cycle on my GE Profile Opal, I pressed the clean button, watched a light blink, and walked away feeling productive. Twenty minutes later I came back to find the cycle had already ended, the reservoir still full of plain tap water, and nothing actually cleaned. I had skipped the one step that matters.
A self-cleaning ice maker does not clean itself. It circulates whatever you put in the tank through its internal plumbing, then flushes it out. If that tank holds only water, you just ran a fancy rinse.
So let me walk you through what the cycle really does, how to start it on the machines that have one, and what to do if your unit has no clean button at all.
What the built-in clean cycle actually does
On a self-cleaning model, the clean cycle turns on the water pump and moves your cleaning solution through the same lines that normally carry water to the evaporator. That is the part you cannot reach with a sponge. Scale, mineral film, and the slime that grows in dark wet corners all live in those internal passages.
The cycle does not scrub the ice basket or wipe the reservoir walls. Those are still your job. Think of the button as a way to clean the plumbing you cannot see, while your hands handle everything you can. If you want the full picture of both halves, my complete step-by-step ice maker cleaning walkthrough covers the manual side in detail.
A clean cycle is a circulation cycle, not a sanitizing miracle. The solution you add is what does the cleaning. The machine just moves it around.
What to add before you press the button
This is the step I fumbled, and it is the one most people miss. Before starting the cycle, fill the reservoir with a cleaning solution, not plain water. You have two common choices.
The first is distilled white vinegar cut with water, usually one part vinegar to about ten parts water for a light job, or straight to a one-to-one ratio for heavy scale. Vinegar is cheap, food safe, and dissolves the mineral crust hard water leaves behind. I lean on it for routine cleaning, and I break down exactly how in my guide to descaling an ice maker with vinegar.
The second is a commercial ice machine cleaner, which is formulated to hit nickel-safe scale without the vinegar smell. If you are torn between the two, I compared them head to head in vinegar versus commercial ice maker cleaner.
Never use bleach in the reservoir of a nugget or countertop unit unless the manual specifically allows it and gives a dilution. Bleach can corrode internal metal and is hard to fully rinse out. Vinegar or a labeled ice machine cleaner is the safer bet.
How to run the cycle on a GE Profile Opal
The Opal is the machine most people mean when they ask about a clean cycle, so let me use it as the worked example. The exact steps are close across the Opal, Opal 2.0, and most self-cleaning nugget makers.
- Empty the ice bin and dump any water left in the reservoir. Nobody wants vinegar-flavored nuggets.
- Fill the reservoir to the fill line with your cleaning solution. On the Opal that tank holds a little over a liter, so mix enough.
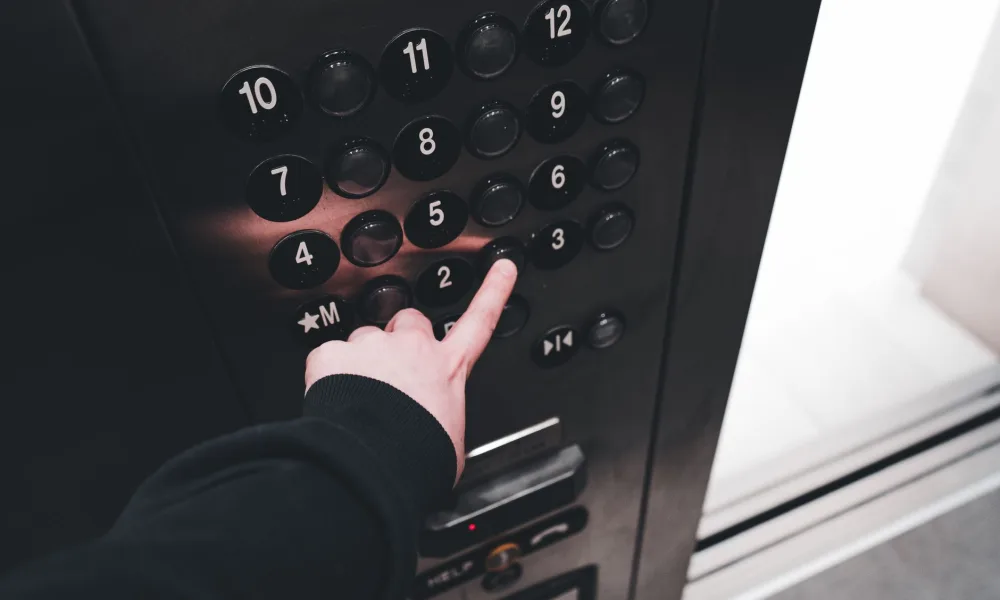
- Find the clean button on the control panel. On the Opal it sits near the power button and is usually marked with a small water-drop or clean icon.
- Press and hold the clean button for about three to five seconds until the clean light turns on. A quick tap will not start it. The hold is what triggers the cycle.
- Let it run. The Opal cleaning cycle takes roughly 12 to 20 minutes depending on the model. The light blinks or stays lit while it circulates.
- When the light turns off or stops blinking, the cycle is done. Drain the solution, refill with fresh water, and run one or two rinse cycles until the smell is gone.
That rinse step is not optional. I once skipped it and my next batch of ice tasted faintly of salad dressing for a full day.
If the clean light will not come on, check that the reservoir is filled to the line. Many units block the cycle if the water sensor does not detect enough liquid. A grimy sensor can cause the same problem, which I cover in cleaning the ice maker water sensor.
Reading the light sequence so you know it worked
The blinking lights confuse a lot of people, and the pattern varies by brand. Here is the general idea. A steady clean light usually means the cycle is running. A slow blink often signals the cycle is in progress or paused between fill and flush. When the light goes dark, or a green ready light returns, the machine is telling you it finished.
On the Opal specifically, the clean light staying solid for the duration and then switching off is your all-clear. If it starts flashing rapidly in a pattern that does not match the manual, that is often an error, not a status update, and usually points to a low water level or a stuck float.
| Light behavior | What it usually means |
|---|---|
| Solid clean light | Cycle is actively running |
| Slow blink | In progress, cycling between fill and flush |
| Rapid flash | Error, often low water or a sensor issue |
| Light off or ready light on | Cycle complete, time to rinse |
How long the whole job really takes
The machine cycle itself is short, but the full process is longer once you count fills and rinses. Budget your time honestly.
- Cleaning cycle: about 12 to 20 minutes on most self-cleaning units
- First rinse fill and run: another 10 to 15 minutes
- Second rinse for stubborn vinegar smell: 10 to 15 more
- Wiping the bin and basket by hand: 5 to 10 minutes
Call it 45 minutes to an hour end to end for a proper clean. If your ice has been tasting off, that hour is worth it, and my checklist for ice that tastes bad can help you pin down whether cleaning is even the culprit.
Portable units with no clean button
Here is the catch a lot of buyers do not expect. Many popular portable ice makers have no built-in cycle at all. Machines like the Frigidaire EFIC237, and a lot of Newair, Silonn, Euhomy, and Igloo countertop models, give you a power button and an ice-size button and nothing else. There is no clean button to hold.
On these, you clean by hand instead. You pour a vinegar-and-water solution into the reservoir, run a normal ice-making cycle so the solution circulates, then dump the cloudy ice, drain the water, and rinse. It mimics a clean cycle using the only cycle the machine has, which is making ice.
No clean button just means you are the clean button.
For the exact hand method on these units, I wrote out the process in cleaning a portable ice maker fast. It takes a few more minutes than pressing a button, but the result is the same clean plumbing.
A common mistake that undoes the whole thing
The biggest error I see is running the cycle and then leaving the machine sealed up wet. A closed, damp reservoir is exactly where pink slime and black mold thrive. You cleaned the plumbing and then handed the mold a fresh nursery.
After your final rinse, prop the lid open and let the interior air dry before you close it. If you have already found pink film or dark spots, a plain clean cycle will not fully remove them, and you will want the targeted steps for removing pink slime first. Hard water makes scale come back faster too, and since mineral content varies by region, the USGS explainer on water hardness is a quick way to see what you are up against.
Making the call
Running the clean cycle is genuinely simple once you know the secret is what goes in the tank, not the button itself. Fill with a real cleaning solution, hold the button until the light confirms, wait out the cycle, then rinse twice and let it dry open. Do that every few weeks and your ice stays clear and odorless.
If your machine has no clean button, you are not missing out. You are just doing the same job by hand, and it works fine. Either way, the goal is the same: clean lines, fresh ice, and no surprise vinegar aftertaste in your next drink.
Frequently asked questions
Yes, and this is the step most people skip. Fill the reservoir with a cleaning solution such as diluted white vinegar or a commercial ice machine cleaner before you start. If you run the cycle with plain water, you are only rinsing, not cleaning.
The cycle itself runs roughly 12 to 20 minutes depending on the model. Once you add the fills and one or two rinse cycles, plan for closer to an hour total. The clean light turning off tells you the machine part is finished.
The most common cause is not enough water in the reservoir, since many units block the cycle until the sensor detects the fill line. Make sure you held the button for three to five seconds rather than tapping it. A dirty water sensor can also stop the cycle from starting.
Many units like the Frigidaire EFIC237 and various Newair, Silonn, and Euhomy models have no built-in cycle. You clean them by pouring a vinegar and water solution into the reservoir, running a normal ice-making cycle so it circulates, then dumping the ice and rinsing. It does the same job by hand.
Avoid bleach unless your manual specifically approves it and gives a dilution. Bleach can corrode internal metal parts and is difficult to rinse out completely. Distilled white vinegar or a labeled ice machine cleaner is the safer and food-safe choice.
For daily-use machines, running a clean cycle every one to three weeks keeps scale and slime from building up. If your water is hard or the ice has started tasting off, clean more often. Letting the interior air dry between uses stretches the time you can go between deep cleans.

About the Author
Madhu Malhotra
Madhu Malhotra reviews nugget ice makers, countertop units, and portable freezers with a focus on real world durability. Over more than ten years of testing home ice machines she has learned which build details actually hold up, how to keep water lines clean without harsh chemicals, and what the marketing brochures quietly leave out. Her write ups aim to save readers a return trip and a wasted weekend.
Related guides
7 Ice Maker Cleaning Mistakes to Avoid
The cleaning habits that ruin ice or wreck the machine, and the safe swap for each one.
When to Replace Your Ice Maker Water Filter
Spot the signs your cartridge is spent, learn the swap schedule, and know why a filter cuts scale but never replaces a real descale.
How to Clean an Ice Maker Water Sensor
The little sensor that tells your machine how much water is in the tank gets fooled by scale and film, and a two-minute swab fixes it.