
How to Clean an Ice Maker Water Sensor
The little sensor that tells your machine how much water is in the tank gets fooled by scale and film, and a two-minute swab fixes it.
Key takeaways
- A false add-water warning on a full tank usually means scale on the water sensor, not a broken part
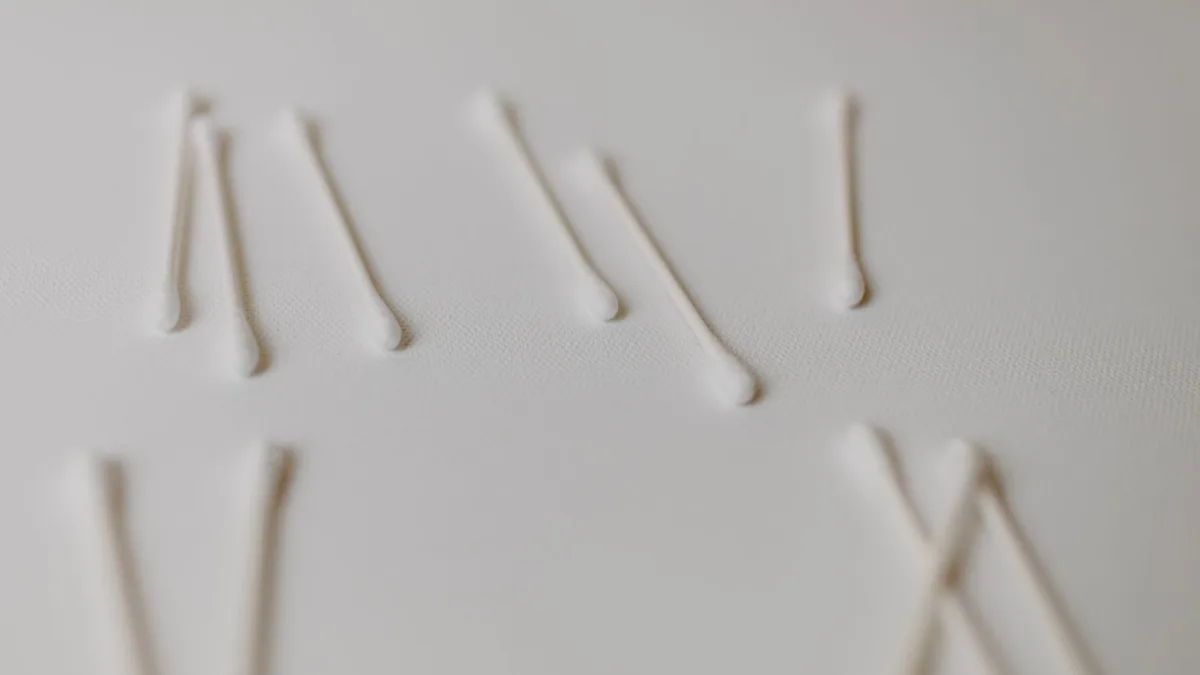
- Clean the sensor with a vinegar-dampened cotton swab, never anything abrasive
- Unplug and drain the machine before working around the water contacts
- Hard water rebuilds scale fast, so swab the sensor every 1 to 2 weeks in hard-water areas
- Rinse off vinegar residue so it does not flavor your first batch of ice
My Frigidaire EFIC237 started nagging me to add water when the tank was already three-quarters full. I would top it off, it would run for a cycle, and then the light would blink again. Nothing was actually wrong with the water level. The machine just could not read it anymore.
The culprit was a thin film of scale sitting right on the water level sensor. Once I learned to clean an ice maker water sensor properly, that phantom add-water warning went away and stayed away. This is maintenance, not a repair, and you do not need any tools beyond a cotton swab and a little patience.
Let me walk you through where the sensor hides, why it misreads the tank, and how to wipe it clean without popping anything loose.
What the water sensor actually does
Most countertop and nugget machines track their water level one of two ways. Some use a physical float, a small plastic bobber that rides up and down on the water surface. Others use a metal contact or probe that senses when water is touching it.
Either style feeds one simple message to the control board: there is enough water, or there is not. When the reading is accurate, the machine fills, freezes, and refills on schedule. When the reading drifts, you get false empty warnings or, worse, an overfilled tank that dribbles onto your counter.
On a GE Profile Opal 2.0, the level sensing lives down in the reservoir where the pump draws water. On a Frigidaire EFIC237 or a Silonn portable, you will usually find a small float or a pair of metal pins near the bottom or side wall of the tank. Newair, Euhomy, and Igloo units follow the same basic idea with slightly different housings.
This is a light-touch job. You are cleaning around and on the sensor, not removing it. Prying the sensor housing off can snap a clip or stretch a wire, and that turns a two-minute wipe into a real repair.
How to tell the sensor is the problem
A dirty sensor tends to lie in one predictable direction: it reports empty when the tank is not. Here are the signs I look for before I reach for a swab.
- The add-water light blinks even after you have filled the tank
- The machine stops mid-cycle and asks for water it clearly has
- You see white chalky buildup or a slick clear film near the bottom of the reservoir
- The tank sometimes overfills because the float is stuck and never tells the pump to stop
If your ice looks fine but the machine keeps second-guessing the water level, the sensor is usually the first thing to check. If the ice itself smells or tastes off, that is a different job, and my checklist for bad-tasting ice walks through those causes instead.

What you need
| Item | Why it helps |
|---|---|
| Cotton swabs | Reach the sensor without scratching it |
| Distilled white vinegar | Dissolves scale gently, no harsh scrubbing |
| Warm water | Rinses vinegar residue after |
| Soft microfiber cloth | Wipes the reservoir walls around the sensor |
| Small cup | Holds a splash of vinegar for dipping |
Skip anything abrasive. No scouring pads, no metal picks, no baking soda paste on the sensor itself. Those can scratch a metal contact or gum up a float, and a scratched contact reads even worse than a dirty one.
Step by step: cleaning the water sensor
- Unplug the machine and drain the tank. Never work around water contacts with the unit powered. If you are not sure your tank is fully empty, my guide to draining an ice maker completely covers the drain plug and the last stubborn ounces.
- Find the sensor. Look at the bottom and side walls of the reservoir. A float looks like a small plastic cap or ring sitting on a post. A contact sensor looks like one or two metal pins or a flat silver pad, often near the pump intake.
- Wet a swab with vinegar. Dip a cotton swab in distilled white vinegar. Dampen it, do not soak it, so you are not flooding the electronics around the sensor.
- Wipe the sensor gently. Roll the swab over the metal pins or around the float. Let the vinegar sit on any chalky spots for 30 seconds, then wipe again. Scale softens fast once vinegar reaches it.
- Free a stuck float. If your machine uses a float, lift it gently with a fingertip and let it drop. It should move freely. If it sticks, swab the post it rides on until it slides smoothly.
- Clean the walls around it. Use a vinegar-dampened microfiber cloth on the reservoir walls near the sensor. Film here can migrate right back onto the contact.
- Rinse. Wipe the sensor and reservoir with a swab or cloth dipped in plain warm water to clear the vinegar. Vinegar left behind can flavor your first batch of ice.
- Dry and reassemble. Let the sensor air dry for a few minutes, refill with fresh water, plug in, and run a cycle. Watch whether the add-water light behaves.
Work under good light. On a GE Profile Opal the sensing area sits deep in the reservoir, and a phone flashlight makes the difference between finding the film and missing it entirely.
The mistake I see most often
People treat the sensor like it needs to be scrubbed hard, and they attack it with something abrasive. A magic eraser, a bit of steel wool, a fingernail. That scratches a metal contact and roughens the surface so scale grips even faster next time.
The other common miss is cleaning the tank but ignoring the sensor entirely during a normal wash. You can run a full ice maker cleaning routine and still leave a stubborn ring of scale right on the contact, because the cleaning solution flows past it without dwelling long enough to dissolve it. A targeted swab is what finishes the job.
A sensor does not need to be shiny. It needs to be clean enough to feel the water.
Why hard water makes this worse
If you are on hard water, the sensor is fighting a losing battle between cleanings. Calcium and magnesium in the supply leave mineral deposits every time the water evaporates or sits, and that layer builds right where the sensor lives. The U.S. Geological Survey has a good primer on what water hardness actually is if you want to know where your area falls.
The harder your water, the faster scale returns. I clean the sensor on my hard-water machine roughly every two weeks, while a friend on soft city water gets away with once a month. If scale is a constant fight in your unit, the broader tactics in my piece on handling hard water scale in an ice maker will save you a lot of repeat swabbing.
Filtered water buys you time
Running distilled or filtered water through the machine slows deposits dramatically. It is not a cure, but it stretches the gap between sensor cleanings. A worn-out inline filter does the opposite, so keep an eye on your filter replacement timing if your unit uses one.
How often to clean the sensor
| Water type | Sensor swab | Signs to watch |
|---|---|---|
| Soft or filtered | Monthly | Occasional false empty light |
| Moderate hardness | Every 2-3 weeks | Chalky film returning |
| Hard water | Every 1-2 weeks | Frequent add-water nagging |
You can fold this into your regular maintenance so you are not making a separate chore of it. I do the sensor swab at the same time I wipe the tank, which lines up neatly with the rhythm in my ice maker cleaning schedule. Two extra minutes, and the add-water reading stays honest.
When it is not the sensor
Cleaning the sensor fixes the vast majority of false level readings I run into. But if you swab it clean and the machine still misreads the tank, look at a few other suspects before you assume the part is dead.
A clogged pump intake can starve the sensor of water even when the tank is full. A kinked or blocked fill line does the same. And on some units, a control board that has taken a power surge will throw level errors no amount of cleaning can touch.
Those are rarer than a dirty sensor, though. Nine times out of ten in my testing, the swab is the whole fix.
Making the call
A water sensor is a simple part doing a simple job, and it only asks for one thing: a clean surface that can actually feel the water. Scale and film get in the way, the machine starts guessing, and you get stuck refilling a tank that was never empty.
Keep a few cotton swabs and a small cup of vinegar near your ice maker, and make the sensor part of your routine wipe-down. Two minutes every couple of weeks keeps the reading accurate, keeps the tank from overfilling, and keeps that blinking light from ruining your morning. That is a trade I will take every time.
Frequently asked questions
The most common reason is scale or film sitting on the water level sensor, which makes the machine misread the tank as empty. Clean the sensor with a vinegar-dampened cotton swab and the false warning usually clears up. If it persists, check for a clogged pump intake or a blocked fill line.
I would avoid bleach on the sensor itself. Distilled white vinegar dissolves scale gently and rinses clean without the harsh residue or fumes. If you want a stronger sanitizing pass on the whole machine, do that separately and rinse thoroughly before running ice.
On the Opal the level sensing sits down in the reservoir near where the pump draws water, so you will need good light to see it. Look for the sensing area low in the tank rather than a visible float on top. A phone flashlight makes it much easier to spot the film.
A float looks like a small plastic cap or ring that rides up and down on a post and moves when you nudge it. A contact sensor looks like one or two metal pins or a flat silver pad, usually near the bottom or side of the tank. Portable units like the Silonn or Frigidaire EFIC237 often use a float, while some larger machines use metal contacts.
Often yes, because an overfill usually means a stuck float that never signals the pump to stop. Freeing and cleaning the float so it slides freely on its post fixes that. If the float moves fine and it still overfills, the pump or control board may be the issue.
On soft or filtered water, monthly is plenty. On moderately hard water, aim for every two to three weeks, and on hard water swab it every one to two weeks. The easiest approach is to clean the sensor at the same time you wipe down the tank.

About the Author
Madhu Malhotra
Madhu Malhotra reviews nugget ice makers, countertop units, and portable freezers with a focus on real world durability. Over more than ten years of testing home ice machines she has learned which build details actually hold up, how to keep water lines clean without harsh chemicals, and what the marketing brochures quietly leave out. Her write ups aim to save readers a return trip and a wasted weekend.
Related guides
How to Clean a GE Profile Opal Ice Maker
A walkthrough for the Opal 1.0, 2.0, and Ultra, from emptying the side tank to running the descale and sanitize cycle and clearing the app reminder.
How to Descale an Ice Maker With Vinegar
The correct vinegar ratio, soak time, and rinse count so scale clears out and the next batch of ice tastes clean.

How to Clean a Nugget Ice Maker the Right Way
A hands-on routine for the auger, reservoir, chute, and drain plug that keeps chewable nugget ice tasting like nothing at all.