
Prevent Mold and Smell in Your Ice Maker
The habits that keep an ice maker fresh cost you about two minutes a day and save you from ever scrubbing pink slime out of a tank again.
Key takeaways
- Drain the reservoir after every use so no water sits warm and dark
- Prop the lid open and let the inside air dry instead of toweling it
- Wipe the reservoir and waterline once a week to stop film early
- Use filtered or bottled water to cut scale and biofilm food
- Never let leftover ice melt and recycle back into the tank
The first time I opened my GE Profile Opal after a long weekend away, the smell hit me before I even saw anything. Musty, a little sour, like a wet towel left in a gym bag. The bin still had a puddle of half melted nugget ice sitting in stale water, and a faint film had started creeping around the reservoir seam.
That machine was not dirty because I skipped a deep clean. It was dirty because I walked away and left it damp, dark, and full of standing water for three days. Warm plus wet plus dark is exactly what mold and that bacterial pink slime want.
Once I figured out how to prevent mold in ice maker tanks with a few small daily habits, the deep scrubbing sessions basically disappeared. Here is the routine I actually follow, and why each piece matters.
Why ice makers grow mold and musty smells in the first place
An ice maker is a warm, wet plastic box that sits on your counter at room temperature. The water reservoir rarely gets fully dry, the bin is not refrigerated on most countertop units, and light almost never reaches inside. Every one of those conditions favors mold, yeast, and the pink biofilm you have probably seen at the waterline.
Nugget machines like the Opal are especially prone to it because the ice is soft and chewable, which means it holds onto flavors and any off smells in the tank. A portable unit like a Newair, Silonn, or Euhomy has the same problem in a smaller package: a 1.5 to 2 liter reservoir that stays wet between batches.
The good news is that prevention is almost entirely about drying and draining. You are not fighting a chemistry problem. You are removing the standing water that the organisms need to live.
Mold spores are already in your air and your tap water. You cannot keep them out. What you control is whether they find a warm puddle to settle into, which is why draining beats any spray you can buy.
Drain the reservoir after every use
This is the single habit that does the most work. When you are done making ice for the day, do not just switch the machine off and walk away with water still in the tank. Empty it.
On the Opal, that means using the drain plug at the back and tilting slightly so the last few ounces run out. On a portable like the Frigidaire EFIC237 or an Igloo, you pull the drain plug underneath and let the reservoir empty into the sink. It takes about 30 seconds.
- Turn the machine off and unplug it if you want to be safe around water.
- Remove any leftover ice from the bin so it does not melt back into the system.
- Open the drain plug and let all the water run out into a sink or bowl.
- Tilt the unit gently to clear the last ounce or two that always hides in the corner.
If you want the full step by step on getting every drop out of different models, I wrote a separate walkthrough on draining an ice maker completely that covers the drain plug locations most people miss.
Leave the lid open so it air dries
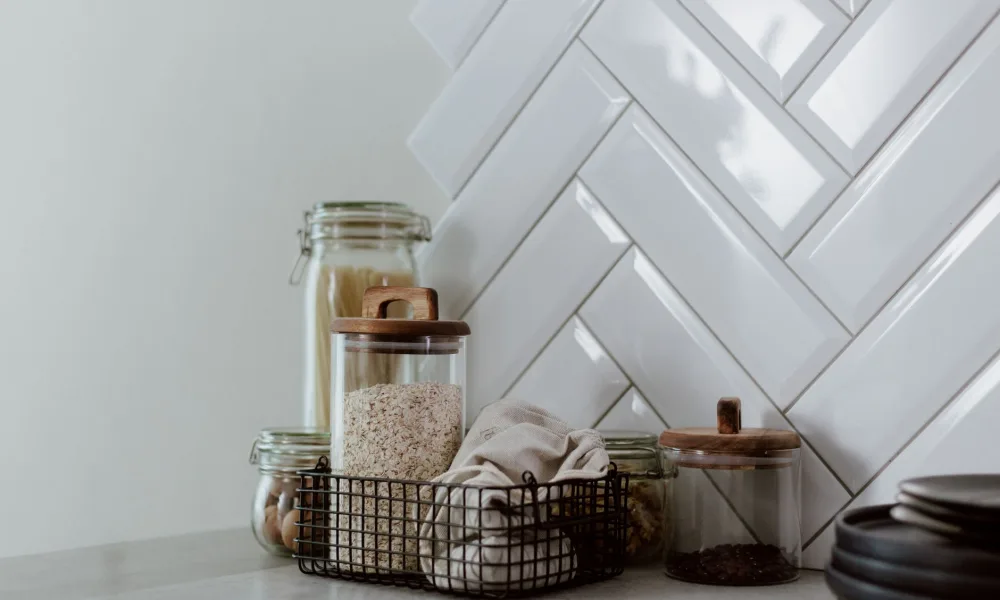
Draining gets rid of the puddle, but the plastic walls stay damp. If you close the lid on a wet tank, you have just built a tiny sauna. Prop it open instead.
I leave my Opal lid up and the bin cover off overnight, or for a few hours after the last batch. A portable unit gets the same treatment: lid up, side vent clear, air moving through. Within a couple of hours the interior is dry to the touch, and dry plastic simply does not grow mold.
A dry tank is a boring tank. Nothing lives there, nothing smells, and you never have to think about it.
The common mistake I see is people wiping the reservoir with a towel and calling it dry. Cloth pushes water around and leaves the seams and sensor pockets wet. Air drying reaches the spots a towel cannot.
Wipe the reservoir once a week
Daily draining and drying handles the day to day. Once a week, do a quick wipe to catch any film starting at the waterline before it becomes something you have to scrub.
Mix a little dish soap in warm water, or use a 1 to 10 white vinegar solution. Wipe the reservoir walls, the bin, and around any gaskets with a soft cloth or a soft bristle brush for the corners. Rinse with clean water and let it air dry. Five minutes, tops.
Keep a dedicated soft toothbrush next to the machine. The waterline seam and the little sensor window are where film starts, and a brush reaches them far better than a rag wrapped around your finger.
If a wipe ever turns up a slick pink coating, that is bacterial biofilm, not actually mold, and it needs a real clean rather than a wipe. My guide on removing pink slime from an ice maker walks through that. And if you see actual black spots, stop using the machine until you read the black mold removal steps.
Use filtered water, not straight tap
What goes in changes how fast things go wrong. Tap water carries minerals and, depending on your area, chlorine and sediment that feed buildup and leave scale that traps grime.
Filtered or bottled water slows scale and cuts the mineral load that biofilm clings to. It also makes the ice taste cleaner, which is half the reason people run these machines. If your home has hard water, a filter matters even more, and you can check your local mineral levels through the USGS water hardness resource.
The Opal has an optional inline filter, and most portables do not filter at all, so you are filtering before you pour. Either way, change or clean that filter on schedule. I keep notes on when to replace an ice maker water filter because a clogged filter quietly makes everything worse.
Softened water is not the same as filtered water. The sodium from a water softener can leave a salty taste and does nothing to stop biofilm. Filter after softening, or use bottled for the machine.
Never let old ice sit and melt in the bin
Here is the habit almost everyone gets wrong. Countertop ice makers do not keep ice frozen. The bin is not a freezer, so any ice you do not use melts back into water, and that meltwater usually drains straight back into the reservoir to be refrozen.
That recycled meltwater is where smells concentrate. It has been sitting, warming, and picking up whatever was in the tank. Refreezing it just spreads the problem into every new cube.
So take only the ice you need, and dump the rest into the sink rather than letting it melt in place. If you want ice kept cold for later, move it to your freezer in a bag.
A quick daily and weekly checklist
- Drain the reservoir after the last batch of the day
- Empty leftover ice from the bin instead of letting it melt
- Prop the lid open so the inside air dries
- Wipe the reservoir and waterline once a week
- Refill with filtered or bottled water only
- Check the filter and gaskets during your weekly wipe
How the prevention habits stack up
Not every habit takes the same effort or pays off the same way. Here is how I rank them by time cost versus how much trouble they save.
| Habit | How often | Time | What it prevents |
|---|---|---|---|
| Drain the tank | After each use | 30 sec | Standing water, most odor |
| Air dry with lid open | After each use | 0 min active | Mold on damp plastic |
| Weekly reservoir wipe | Weekly | 5 min | Waterline film, pink slime |
| Filtered water | Every refill | 0 min extra | Scale, mineral buildup |
| Dump old ice | Each session | 10 sec | Recycled musty meltwater |
Even doing all of it, you are looking at maybe two minutes of active work a day. That is the whole trade: a couple of minutes now, or a 45 minute deep clean later once things get bad enough to matter.
When prevention slips and you need a reset
Life happens. You go on vacation, you forget for a week, and one day the ice smells off. When prevention lapses, you switch from wiping to a full clean and descale, then restart the good habits.
That means running a proper cleaning cycle with vinegar or a commercial solution to clear the lines and reservoir. Start with my main step by step ice maker cleaning guide, which covers the Opal and portables and gets you back to a clean baseline before your daily routine takes over again.
If the smell is coming through in the flavor of the ice specifically, the fix is a little different, and I keep a short checklist for that too. The point is that prevention and cleaning work together: good habits stretch the time between deep cleans way out, but they do not replace them entirely.
Where this leaves you
Mold and musty smells in an ice maker are not bad luck. They are the predictable result of leaving warm water sitting in a dark plastic box, and they respond to boring, repeatable habits far better than to any miracle spray.
Drain after each use, prop the lid open to dry, wipe weekly, pour filtered water, and never let old ice melt back into the tank. Do those five things and your machine stays fresh for months at a stretch, and the deep clean becomes a rare event instead of a recurring chore. If you like keeping a rhythm, pin down a simple ice maker cleaning schedule so the weekly and monthly tasks never sneak up on you.
Frequently asked questions
Drain it after every day of use, or after each session if you only run it occasionally. Standing water is what mold and pink slime need, so removing it daily removes the problem at the source. It takes about 30 seconds and is the single most effective habit.
No, the pink or orange slime is a bacterial biofilm called Serratia marcescens, not mold. It thrives in the same wet conditions, so the same prevention habits stop it. If you already see it, wipe it away with a vinegar solution and then keep the tank dry going forward.
It is best not to. Water left overnight sits at room temperature and gives mold and biofilm a head start. If you plan to make ice again in the morning, it is still safer to drain, air dry, and add fresh water when you start the next batch.
It helps, though it is not a full replacement for draining and drying. Filtered water carries less scale and fewer minerals for biofilm to cling to, and it makes the ice taste cleaner. Pair it with daily draining for the best result.
The smell usually comes from meltwater that recycled back into the tank, or from film hiding in seams and sensor pockets you cannot easily see. Old ice melting in the bin and refreezing is a common culprit. Drain fully, air dry, and dump leftover ice instead of letting it melt in place.
With daily draining, air drying, weekly wipes, and filtered water, many people stretch a full deep clean to every one to two months. Neglected machines need it far more often. The habits do not replace deep cleaning, they just make it a rare event.

About the Author
Madhu Malhotra
Madhu Malhotra reviews nugget ice makers, countertop units, and portable freezers with a focus on real world durability. Over more than ten years of testing home ice machines she has learned which build details actually hold up, how to keep water lines clean without harsh chemicals, and what the marketing brochures quietly leave out. Her write ups aim to save readers a return trip and a wasted weekend.
Related guides
Vinegar vs Commercial Ice Maker Cleaner
A hands-on breakdown of cost, descaling strength, smell, and rinse effort so you can pick the cleaner your machine and your water actually need.
How to Clean a Portable Ice Maker Fast
A 20 minute routine for bullet units like the Frigidaire EFIC189, Igloo, and Silonn, covering the basket, basin, drain plug, and the prongs you must not bend.
Handling Hard Water Scale in an Ice Maker
How calcium and magnesium crust up your reservoir and evaporator, why it clouds and slows your ice, and how a hardness test sets your descale rhythm.